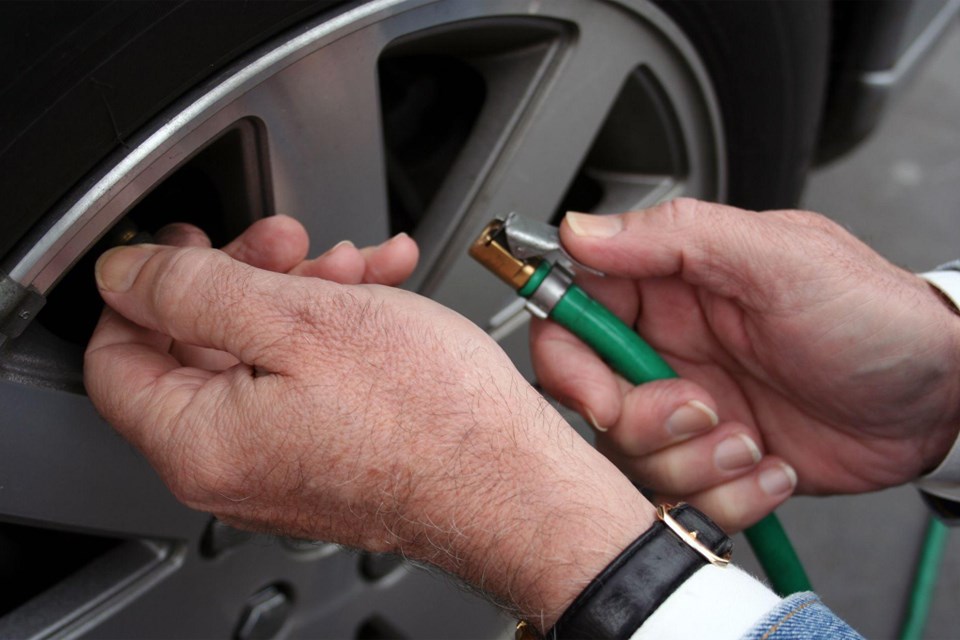
Here are three DIY maintenance jobs any at-home mechanic can master.
Change Your Oil
The thought of changing your vehicle’s oil may seem daunting, especially if you’re not very handy in the garage. But changing your oil is easier than you think! Plus, a DIY approach could save you between $35 to $125 if your vehicle takes synthetic oil.
Here’s how to change your oil on your own:
- Make sure the vehicle is on level ground. Then, lift the car high enough so that you can work safely and comfortably underneath it. You can do this using jack stands, a hoist, or ramps. A word of caution: Never work underneath a vehicle that’s being held by a floor jack alone.
- Find the oil pan and unscrew the drain plug. Make sure you have an oil drain pan or some type of liquid-holding container so the old oil has somewhere to go. Wait 5-10 minutes for the oil to drain or until the oil begins to trickle, then replace the drain plug.
- Look for the oil filter; it’s cylindrical in shape and is usually located beside the oil pan. Remove the oil filter using an oil filter wrench. (If you don’t have an oil filter wrench, you may be able to do this by hand.)
- Before installing the new filter, you should verify that the old oil-filter gasket (it’s a rubber O-ring) isn’t still clinging on. If the old gasket is left on, the new oil filter won’t work and will likely make a huge mess.
- Wipe everything down; make sure all oil-covered surfaces are clean, and replace the drain plug.
- Apply a light coating of oil to your new oil filter’s gasket and screw it back in place.
- Once you’ve replaced the filter and the drain plug and have made sure everything is in its original position, lower your vehicle back to ground level.
- Pop the hood, remove the oil cap, and fill the engine with new oil using a funnel.
Put the oil cap back in its place, and you’re done!

Replace the Air Filter
According to Auto Trader, a disposable air filter is suitable for approximately 48,000 kilometres. If you frequently drive on unpaved roads or deal with heavy traffic daily, you may need to replace it every 24,000 kilometres.
The good news? Swapping out a vehicle’s air filter for a new one is a quick and easy job. All you need is 10 minutes and a new air filter, which can cost around $25 depending on where you buy it.
Here’s a quick step-by-step guide on how to replace your air filter at home:
- Lift the hood and open the engine air filter housing (AKA the black plastic box sitting on top or to the side of the engine). There should be a hose attached to its side. You should be able to open the airbox without tools. If you need additional help or information, consult your owner’s manual.
- Remove the old air filter along with any visible dirt or debris.
- Place the new air filter in the airbox and resecure the housing.
That’s it! You’ve successfully replaced your air filter.
Check the Tire Pressure
Driving around with low tire pressure is dangerous. It can also lower your gas mileage and damage your tires. If you’re driving off-road, you may need to set your tires at a lower pressure. Doing so will prevent you from getting stuck and help your vehicle drive on the sand!
To ensure your tires are at the right pressure, you’ll need a tire pressure gauge and an air compressor, just in case.
Here’s how to check your tire pressure:
- Check your owner’s manual or look for a sticker on the inside of your driver’s side door. Both should list the ideal tire pressure for your vehicle. It’s measured in pounds per square inch or psi.
- Grab your tire gauge and remove the cap from the air valve on the tire. Put it in your pocket so that you don’t lose it.
- Press the tire gauge against the valve stem. You may hear a hiss of air; don’t worry, that’s normal!
- Read the air pressure gauge. If you have a manual gauge, a dial will indicate the tire pressure. If you have a digital gauge, the number should appear on the screen.
- Ensure that the tire’s pressure is set to the recommended pressure (from step one). If it’s lower, add air until the gauge reads the correct pressure.
- Replace the air valve cap and repeat for each tire.
See, there are things you can do yourself with vehicle maintenance. With our handy, step-by-step instructions above, you can change your oil, change an air filter, or pressurize your tires in a snap!
 This story was made possible by our Community Partners Program. Thank you Davis Chevrolet for helping to expand local news coverage in Alberta. Learn more.


